IP blocking on a Fortigate with CrowdSec


At my computer club I run a nginx server for incoming web traffic. A couple of weeks ago I installed CrowdSec and I'm quite amazed how easy the installation was and the amount of suspicious connections it detects and blocks.
CrowdSec works like Fail2ban but on steroids. Like Fail2ban it is parsing log. When somebody makes to many failed login attempts or tries to use known exploits it will bans the IP. It can also detect L7 stuff like bot scraping/scalping, L7 DDoS attacks, data exfiltration, credit card stuffing. Basically CrowdSec is a sofisticated, rulebased framework for detecting anomalies of any kind.
Another differences between Fail2ban and CrowdSec is that CrowdSec also will share the ban with the CrowdSec community. It is almost like herd immunity against known bad IPs. Crowdsec is split into agent and bouncer. The agent will parse and analyzes while and the bouncer blocks connections.
You can choose between different bouncers depending on your use case. The easiest way is to use a local firewall like iptables or nftables. You can also you want to block connections in you web server or blog.
I mainly use Fortigate firewalls at home and at the computer club. I don't have any fancy subscriptions so when I found CrowdSec i realized that i should be able to combine them.
Extracting the blocklist
The following part can now be replaced with the new mirror blocklist bouncer. I wrote an article about it here. Please read it and then skip to the next topic Fortigate Configuration
On the nginx server in my computer club I created a simple vhost based on the default vhost.
server {
	server_name cslist.domain.tld;
    listen 80;

    location / {
    	root   /usr/share/nginx/html;
        index  index.html index.htm;
        }

	error_page   500 502 503 504  /50x.html;
	location = /50x.html {
    	root   /usr/share/nginx/html;
	}
}(cslist.domain.tld is an example. You can use your own domain or web server IP if you still run the default vhost. The same thing should work with any web server that can serve files in a folder)
Then I ran service nginx configtest without getting any errors. I reloaded the ngingx by running service nginx reload
Then I had to extract the blocklist from CrowdSec. I created a new API key by running:
cscli bouncers add txt-listThat command gave me a API key with the ID txt-list.
sudo curl -s -H "X-Api-Key: API-KEY-HERE" http://127.0.0.1:8080/v1/decisions/stream?startup=true | jq '.new[].value' | sed 's/"//g' > /usr/share/nginx/html/list.txtTo run the command above I had to install jq.
sudo apt-get install jq -yI ran the command again and it created /usr/share/nginx/html/list.txt
I could also get the file in the web browser by visiting http://cslist.domain.tld/list.txt in my web browser.
The only thing missing now is running the command regularly by cron. To do that i ran
sudo crontab -eI added a new line the end of the file
* * * * * curl -s -H "X-Api-Key: 964c90997e5ae853c0c7cd017afe89af" http://127.0.0.1:8088/v1/decisions/stream?startup=true | jq '.new[].value' | sed 's/"//g' > /usr/share/nginx/html/list.txt
That runs the command every minute. I saved the file and closed the text editor.
First part of the job done. Now I need to make my fortigate download this list and use it for blocking connections.
Fortigate Configuration
My fortigate is running FortiOS 7.0.5 but it should work in any firewall running version 6.0.X and newer.
On the Firewall I went to Security Fabric and created a New Connection
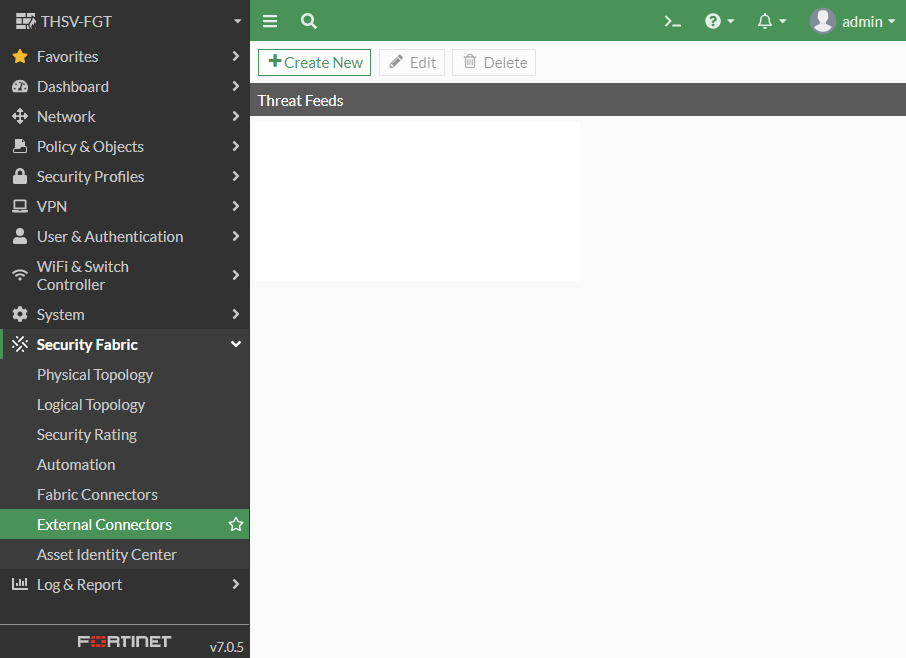
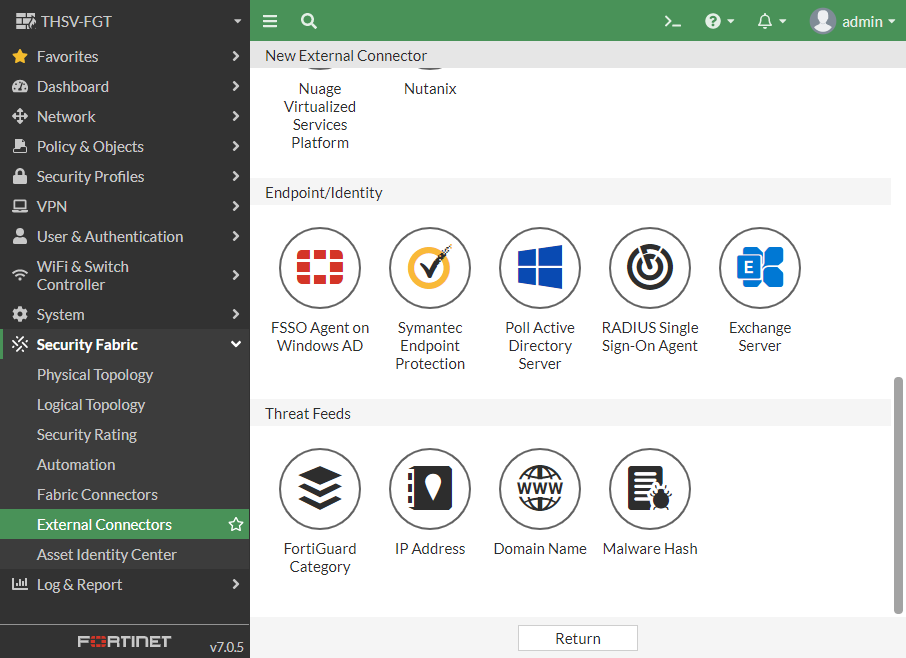
I selected IP Address at the bottom of the page
The new connection looked like this
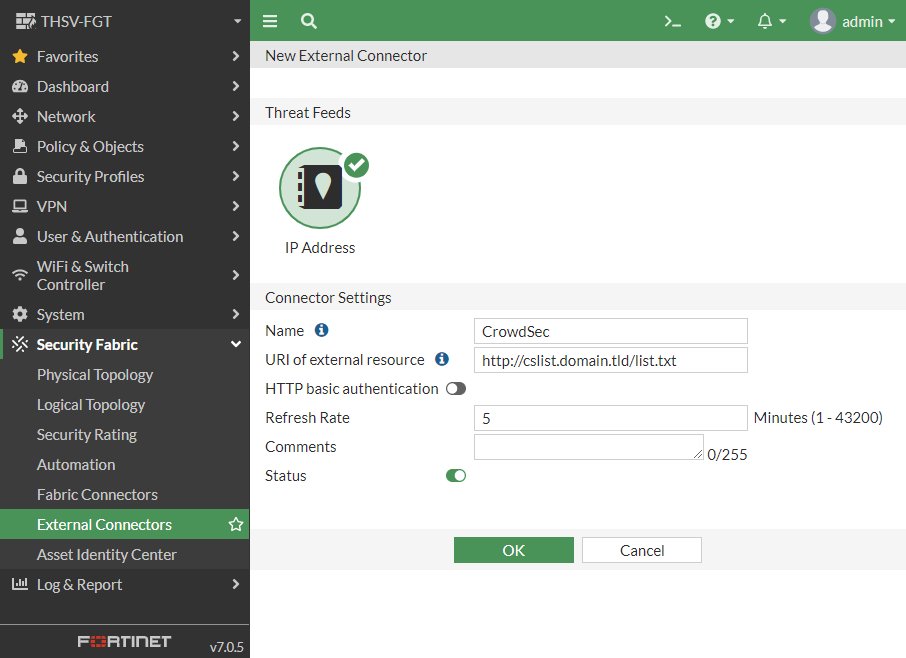
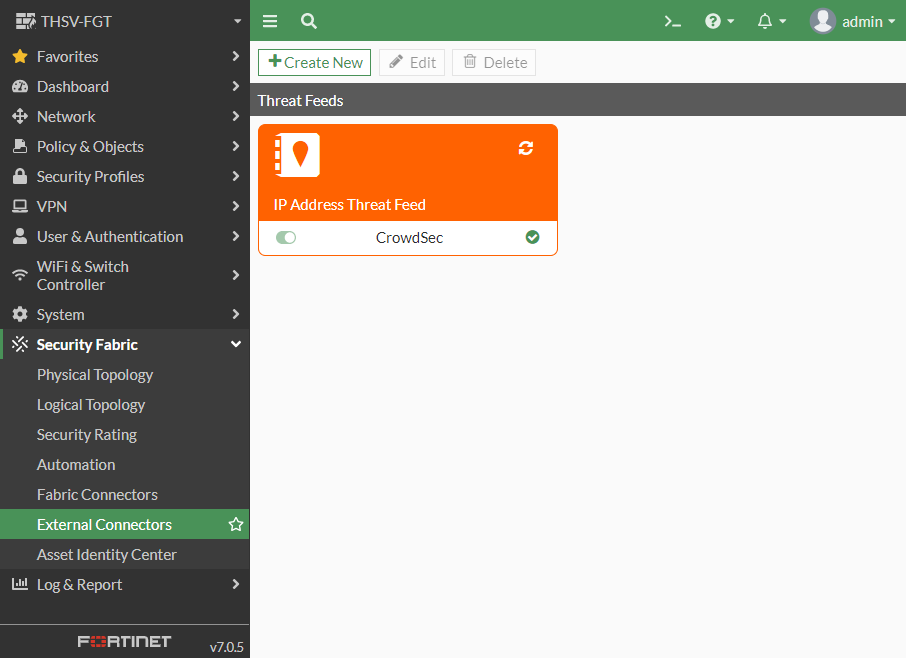
When I clicked OK I got a new object.
It is also possible to use the CLI to add the list
config system external-resource
    edit "CrowdSec"
        set type address
        set resource "http://cslist.domain.tld/list.txt"
    next
end
After that I created a policy above my port forwards that deny traffic from IPs in the CrowdSec list and where the destination is my port forwards.
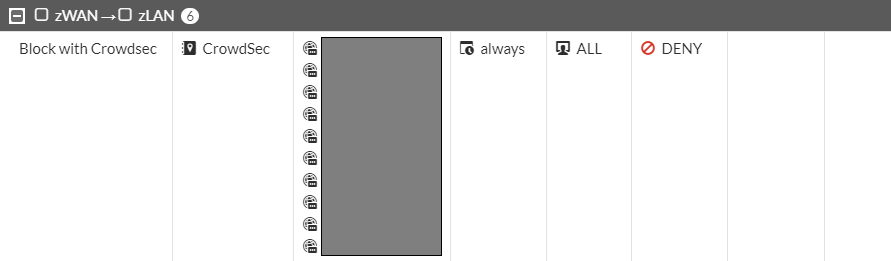
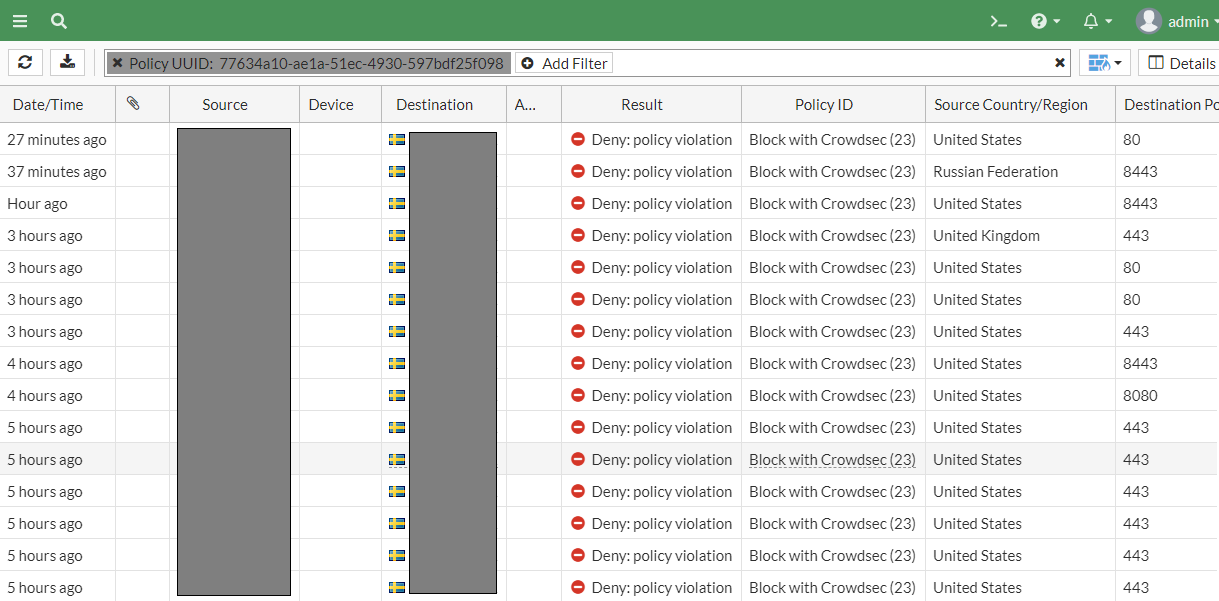
I also activated logging on the policy. It seems like it's working!
Conclusion
The combination seems to work great! It would also work with pfsense. Maybe i will write a blog post about it another day.
I try to keep stuff simple and I guess there are other ways of doing this. As all of the servers was installed it only took a couple of minutes to implement this. It took much more time for me to create this blog :)